Showing posts with label craft. Show all posts

Monday, October 15, 2012

Halloween Toilet Paper Roll Spider Craft

It's a spooky spider! The girls had fun making these toilet paper roll spiders yesterday morning.
I saw this Halloween craft last year on this blog.


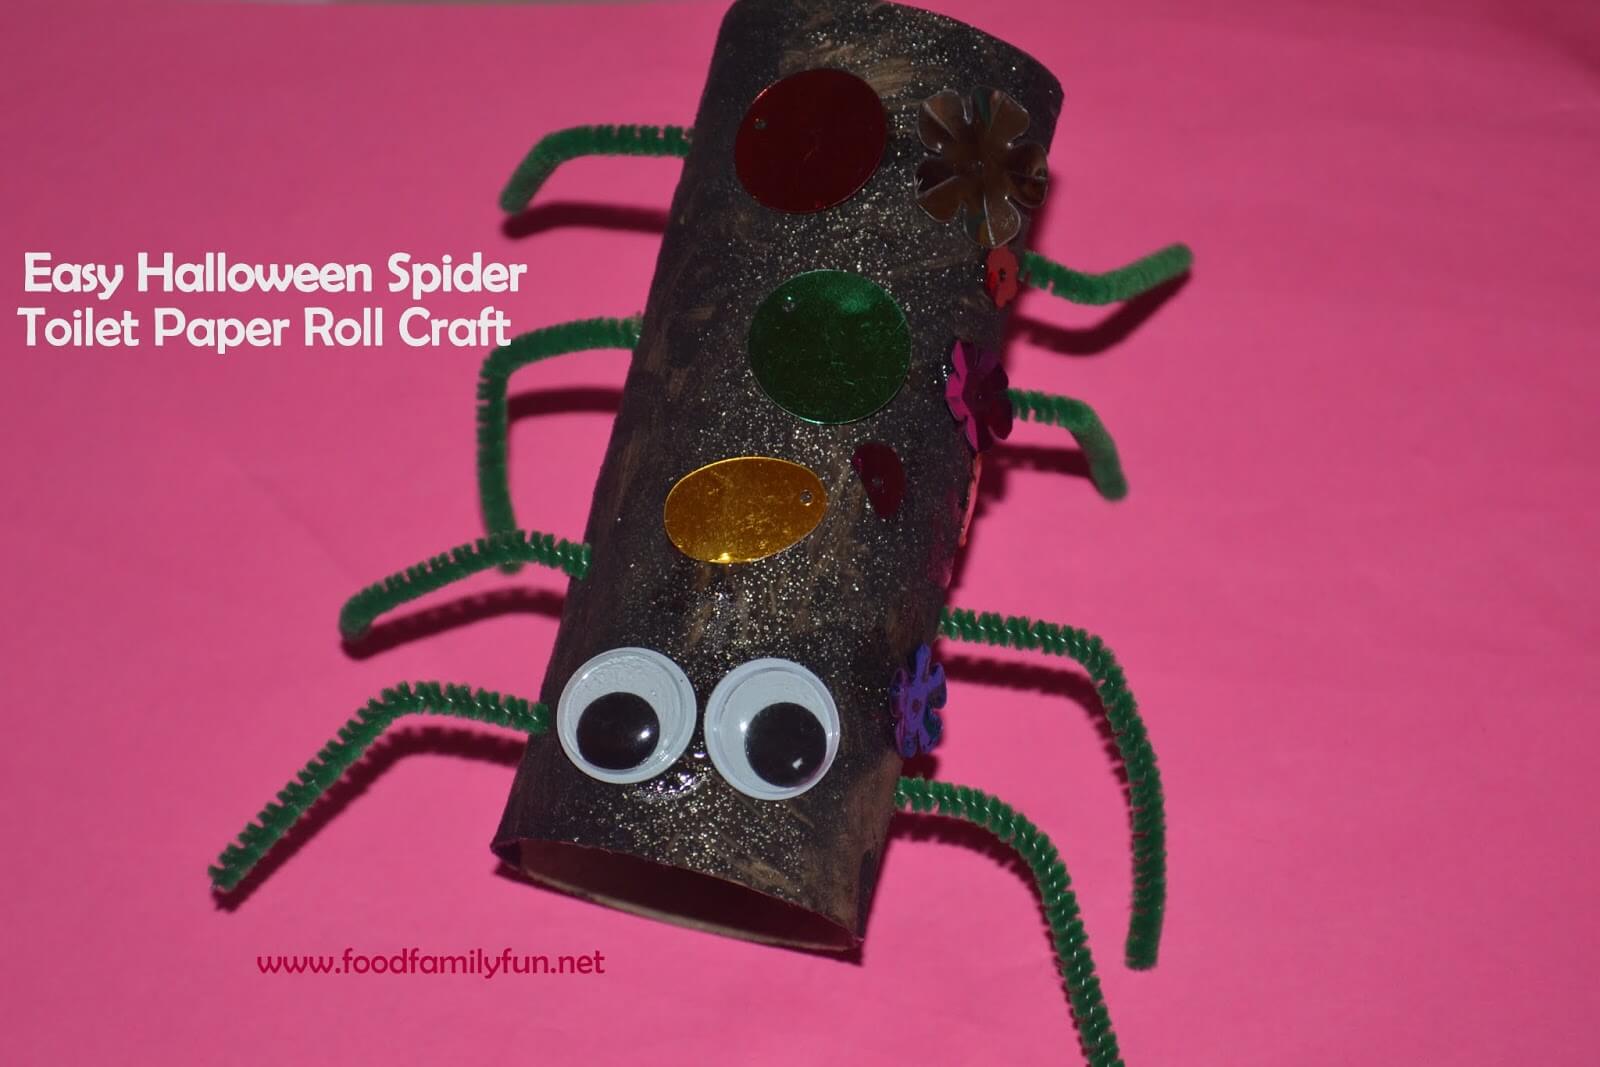
Here's what you need to make a spooky spider:
toilet paper roll
black paint
glitter
2 googly eyes
4 pipe cleaners
something to poke 4 holes with (Daddy used a knife)
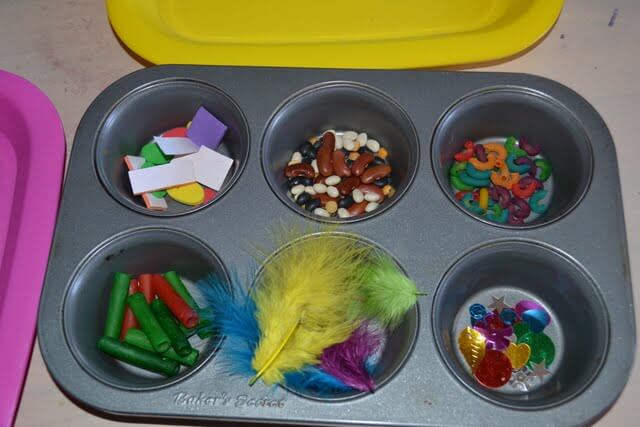
assorted embellishments - sequins etc (optional)

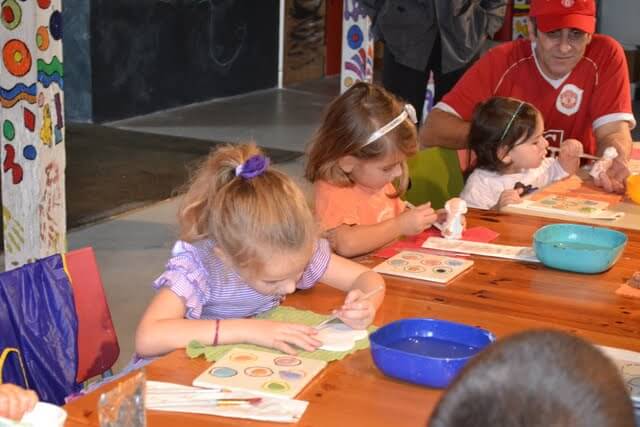
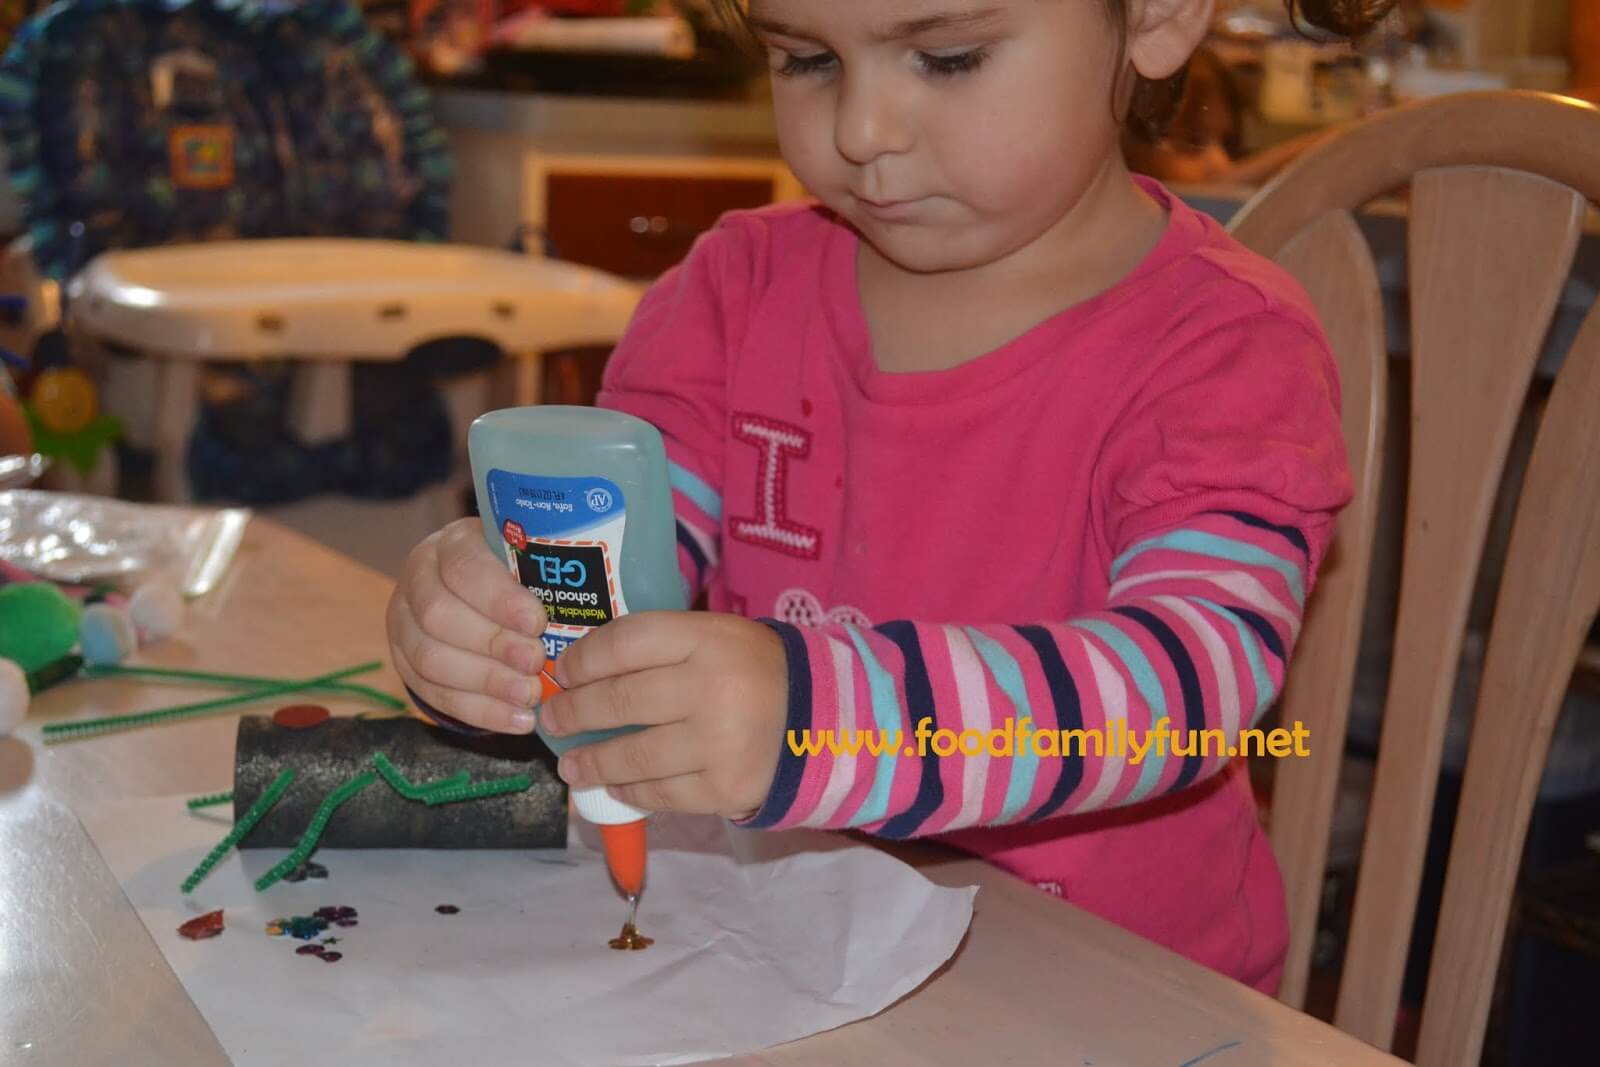
It was super easy and I only offered slight direction. We used a glitter medium and mixed it into the black paint to make black glitter paint. It's still sparkly and a bit neater than shaking glitter around. We were out of glitter glue, but you could use that also to make it sparkly without the mess of loose glitter. This was a minimally supervised craft so I was making it as easy as possible. They were working at the kitchen table and I was cooking in the kitchen.

1. Paint the cardboard tubes and then let them dry (this was the hard part -- the waiting -- so we did some colouring pages and other cut and paste fun stuff while we waited)
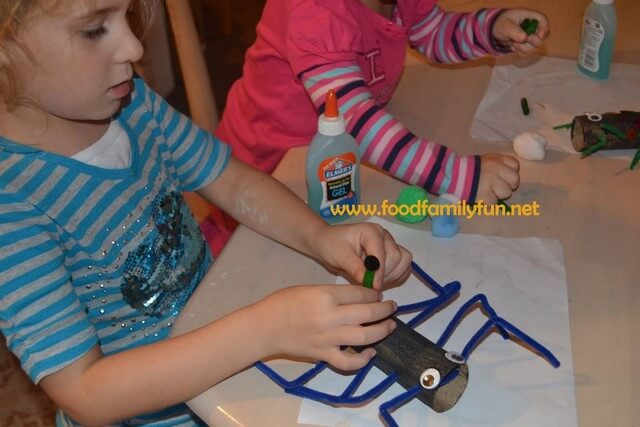
2. Have a grown up poke four holes on each side to thread the pipe cleaners for legs.
3. Thread the pipe cleaners through the holes and bend to make it look like legs.
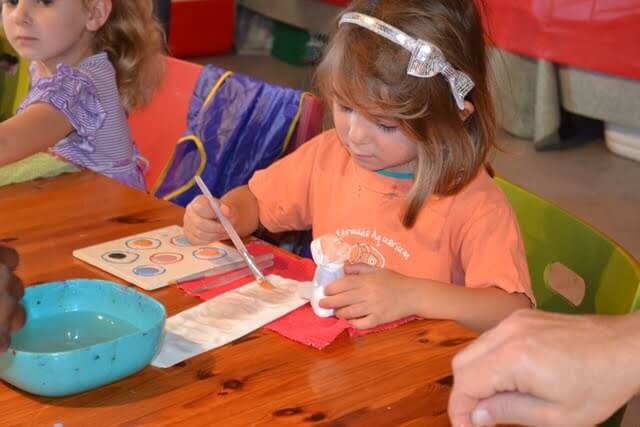
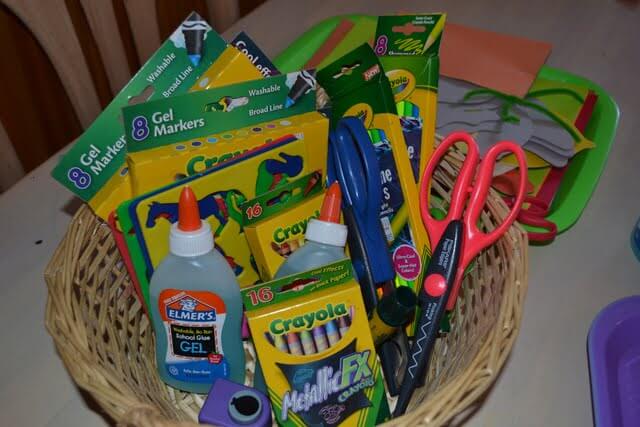
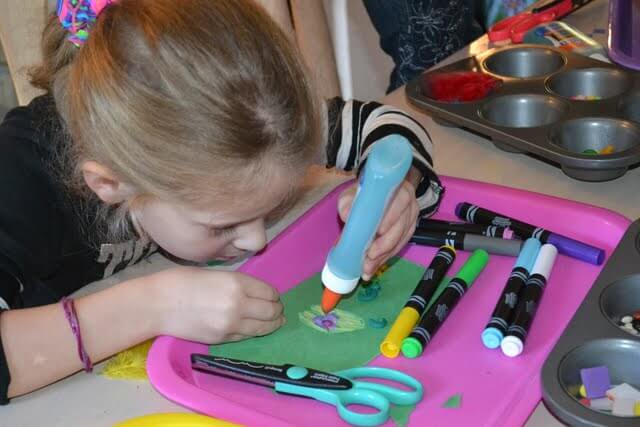
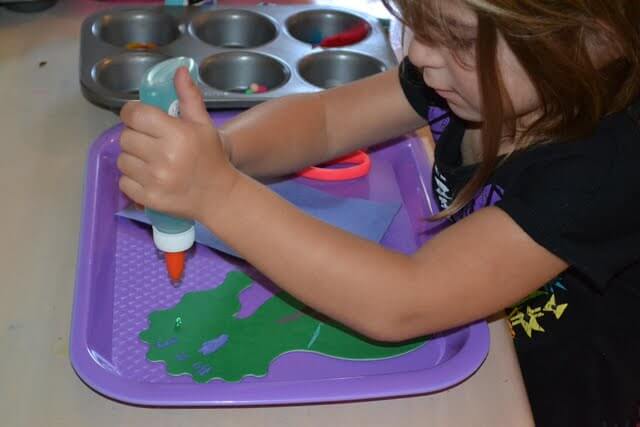
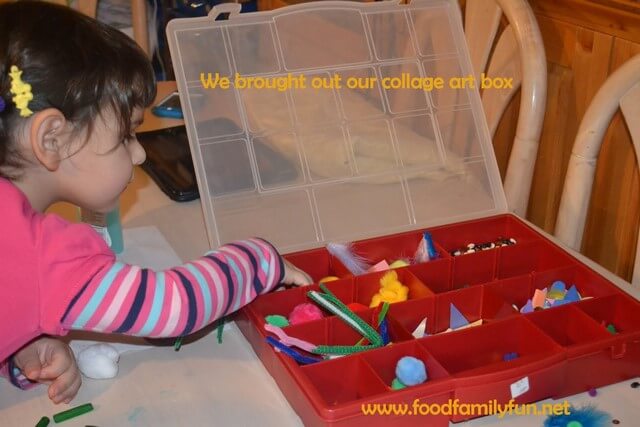
4. Glue on googly eyes and any embellishments that you want - we got out our collage art box and then everyone decided to put lots of extras on their spiders!


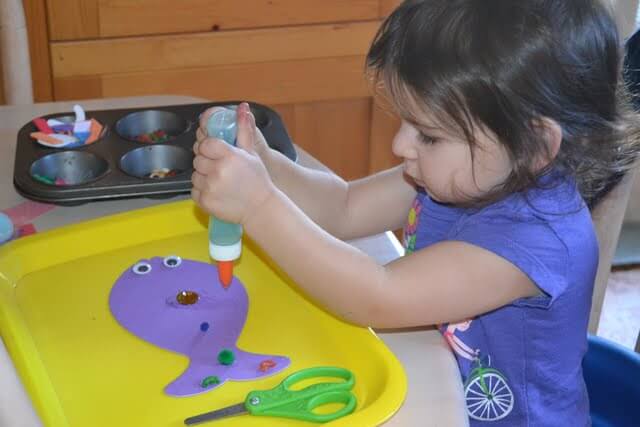
Here they are adding the fun bits. They started to look less like spiders after a while!
Heidi concentrating on her glue - I love it!


Amy decided that hers needed a stinger like a scorpion.


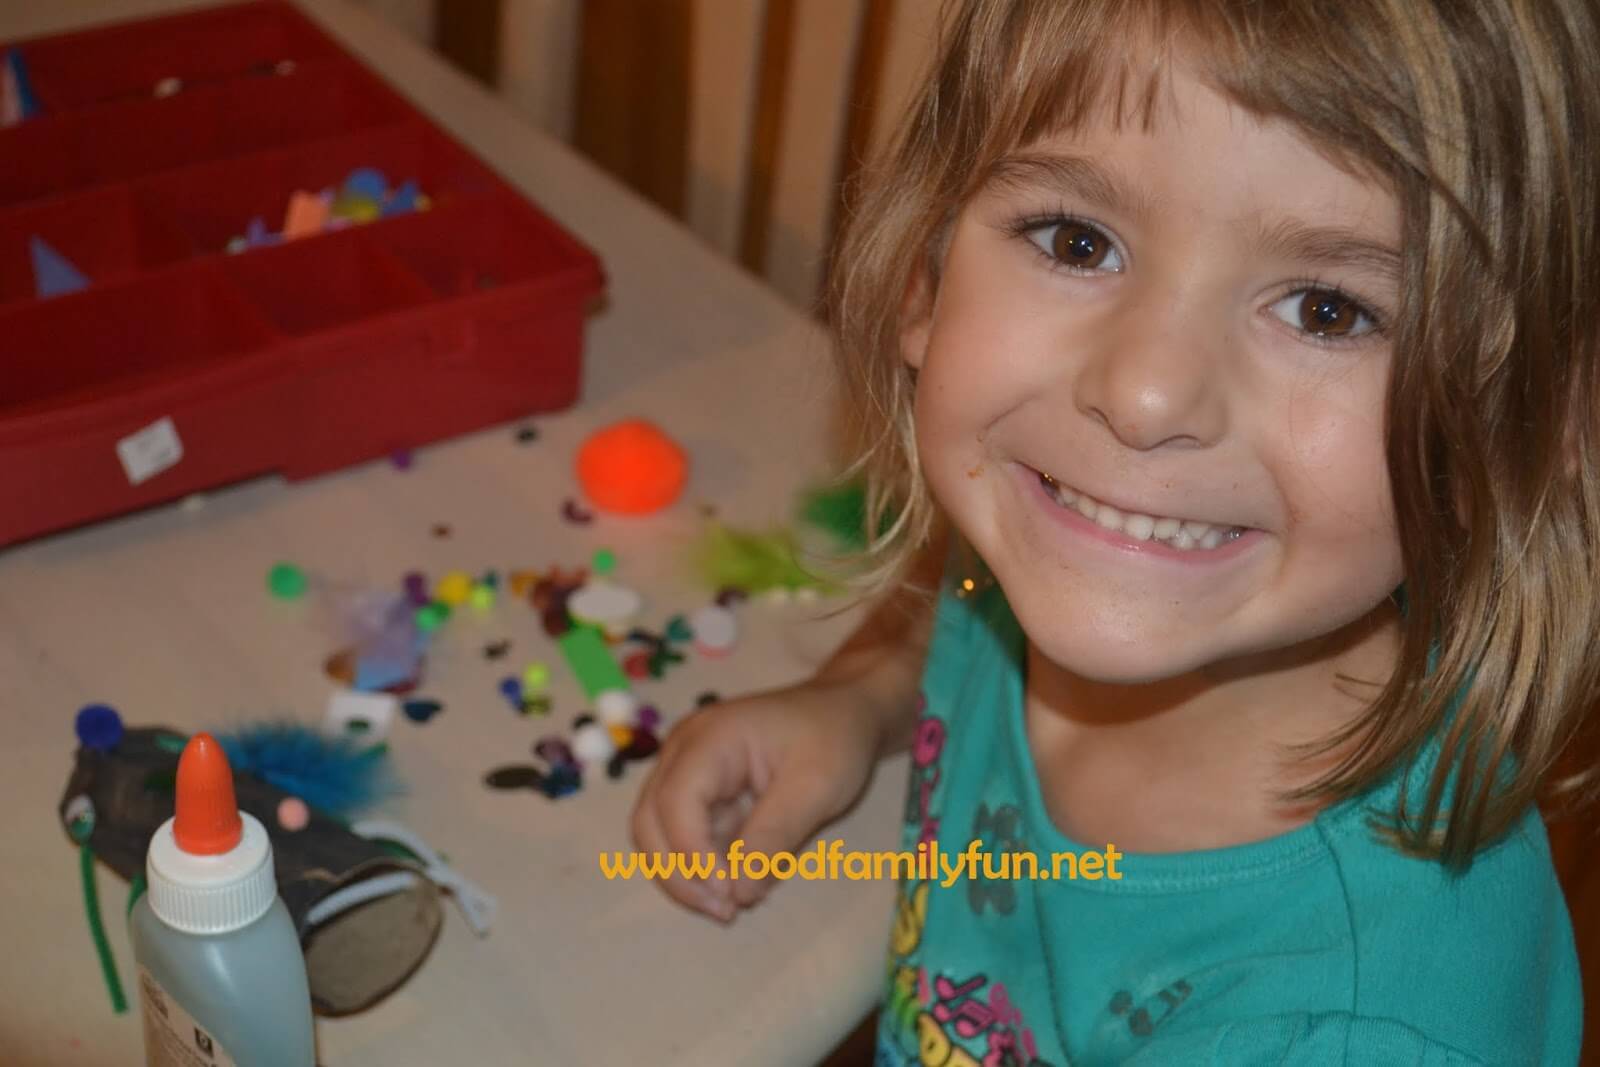
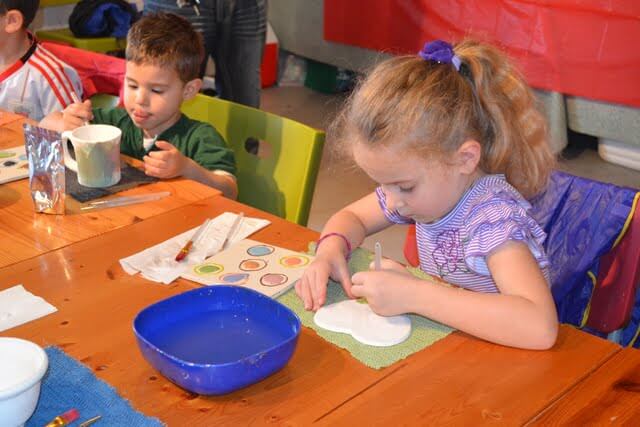
Rose thought feathers would be just the thing for her spider. Usually we use an art tray when we work with the collage box materials. There was a slight mess on the table but they packed it away and then swept the floor. The art tray definitely contains the mess better. I was busy making pumpkin pie at the time and I just didn't think to get out the art trays.


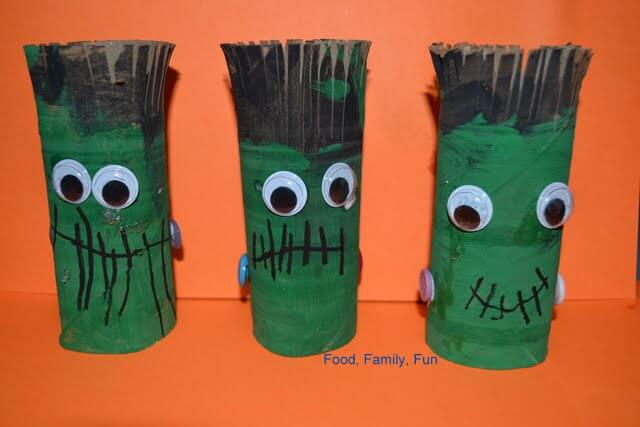
Heidi finished first (top photo) then after she saw what her sisters were doing, she added some more embellishments :) Here are all three finished *spiders*. 

Wednesday, March 28, 2012

Painting Pottery

A family member had a pottery painting birthday party last month. The girls enjoyed this as expected but I was very sad to learn the the pottery painting studio was closing as the owner had some serious health issues.  I was glad that we had the opportunity to go right before it closed! Painting pottery is on our Family Fun List. It was a great way to spend an afternoon - especially with cake included ;)


Daddy started out giving Heidi a little assistance but as soon as she realised that Rose was holding her own piece, she had to follow suit.


Lots of concentrating faces in these photos!

The staff put all of the painted pieces in the kiln and we got them back several days later. Here's their finished work. I think they did a great job!

Rose's Puppy, Heidi's Kitty, and Amy's heart coaster

Tuesday, March 27, 2012

Collage box

I saw this idea on pinterest a bunch of times and just HAD to make my own! My girls love to make their own little art projects and collages so I new this would go over well. It was really easy to do since I already had all of our favourite collage materials in a larger art bin. Previously, it was kind of cumbersome to get out each item from its storage container and then pack away at the end. This mini assortment is really just perfect to pull out any time the girls feel creative. The container has a hinged lid with divided sections and was purchased at the hardware store.

I included coloured pasta (ziti and elbows), feathers, mixed dried beans, large poms, chenille stems, scraps of coloured paper, foam shapes, sequins, small and mini poms, googly eyes and assorted button shapes.


I also made up a little supply basket for the girls to easily share and contain their tools.  This isn't the best picture as I took it during the art process! I included patterned and regular scissors, gel glue, glue stick glue, neon pencil crayons, stencils, fine point markers for the stencils, gel FX markers, metallic crayons and mini craft punches and a mini embosser. They have regular crayons, pencil crayons and markers in separate large containers that are always out for colouring -- this basket has special supplies. The tray hiding behind the supply basket is mostly assorted paper and collage shapes.


I didn't want to make three similar collage boxes for each child so I devised a little system using muffin tins. I gave each child a 6 cup muffin tin and let them choose collage materials from the new art box to place in their muffin tins. I then closed up the collage box and put it aside while they worked. This was to avoid any jostling/spills/can't reach scenarios that would go along with sharing the box. While they aren't totally unsupervised with their art materials I do really give them a lot of free art time and do not hover. They just love creating any art projects and will spend quite a long time working with these kinds of materials. If anyone wanted refills for the muffin tins they could help themselves  -- one at a time!


I usually give them each a tray to work on when we are using lots of little pieces. It keeps things mostly contained and defines their workspace visually.

Heidi concentrating on squeezing her glue!


The gel FX markers were new and Amy was excited to try them all!

Rose made a pretty seahorse collage. She was very proud of it. She asked me to take a picture of her with it on my phone to post on facebook for everyone to see :)


Clean up was very easy. Anything left in their muffin tins was easy to put back into its compartment for next time. It really wasn't mixed up too much especially compared to if we had used an undivided container for each child or left the bits and bobs loose on the tray. The misc supplies went back in the basket, trays away, wipe off the table and done!

I am very glad I tried this idea. The art materials have been brought out with increased frequency as it's a no hassle set up and clean up.

Sunday, January 22, 2012

975 to go ...

Paper chain links that is. We're working on our Family Fun List #34 - make a 1000 paper chain. Since we are a family with 5 able paper chain makers, it probably wouldn't take us that long to just go ahead and make a huge paper chain. While it would be fun and we can marvel at the magnificence of 1000 links, it's not all that challenging. So we're kicking it up a notch and writing on each link the title of a book that either Amy has read by herself or one that has been read to Rose & Heidi &/or Amy. Basically each link represents a children's book read in some fashion. So far we have 25 links completed. Woo hoo!
I didn't come up with this idea right away on Jan 1st, and we really have just started this past week. I think we will need to step it up a notch on the reading to make up the time, but I believe that we can get it done. Here are our chains so far. (Since taking the photo I have added one more link.)

I am currently letting them make 2 separate chains that we will join together later. Mostly so that Amy can see her reading chain on it's own and track her personal reading progress. I am going to have her write the book titles on her own links from now on for the handwriting practice, this week  we have both written the titles.

The only hiccup in the master plan is figuring out how to keep the duplicates out of the chain. The littles tend to want to have the same books read over and over so I don't know what to do about that. So far it hasn't been an issue since it's only been a week. The plan is not to read 1000 different books, just 1000 books so I might not worry about the duplicates and just try to encourage variety with trips to the library etc. Anyone have any suggestions about the handling of duplicates? If someone has an idea for an easy system I can keep the duplicates out. Once we go over 100 books I know I won't be able to remember which ones are on the chain and which ones aren't. My memory is good, just not that good - there's a lot of other stuff floating around in there! I also don't want to skim through a list of 100's of books each time we read one either.

Comments & Suggestions welcome!

Saturday, December 31, 2011

First ever gingerbread house !


I wasn't originally too keen on making a gingerbread house with the girls. There was just so much going on in the house I thought it would be a bit of a disaster - finding a pattern, making the pieces, assembling the house etc. all while caring for sweet baby Emily. Enter the gingerbread kit! My Mom bought us a Wilton gingerbread house kit and nonchalantly gave it to the girls a few weeks before Christmas. That pretty much sealed the deal - we were making a gingerbread house!
I did a few Internet searches and saw some different ideas and a few tips on making gingerbread houses with children.  3 tips stood out: use a kit and save yourself any baking drama plus younger kids enjoy the candy part the most, not the baking and assembly and waiting part, buy candy that is NOT your children's favourites (so they eat less during the process) and put the candy in a muffin tin so it's easy to choose and also keep the work area tidier without a bunch of opened candy bags strewn about. Win, Win, Win. The kit came with some candy but I bought a few extras just in case - I fully expected some to be eaten as we worked and we all did ;)

Here's our candy all set up:
 I made 2 muffin tins to share between the 3 girls, I manned the royal icing bag.
Christmas dots, M&Ms, spearmint trees, traditional hard candy mix, fruit swirls, spice drops all bought by me. The kit included a few gummy trees, a few flat gumdrops, and the little colourful round candies.
I didn't get any action shots. I took a few on my phone which turned out terrible. It really was a pretty busy event and stopping to snap photos was not going to happen. Perhaps next time, now that I have one gingerbread house under my belt!

Here's our finished house:
Rose didn't want to stop decorating once we finished the house and walkway, so we added an entire front yard that she decorated. Can you see the little orange doorknob? Amy's idea - because how does the gingerbread man open the door!?!

The better side!
Rose was very proud of her Christmas Dots pattern on the roof.

The failed attempt at window curtains side - LOL!
There must have been a wicked storm 'cuz those trees are leaning :)

The back spice drop design

All in all I think I thinned the Royal icing too much. I knew that I was planning on doing the assembly one day and the decorating the next so I thought that *slightly* thinner icing would be better as I expected it to stiffen up a bit after being left in the bag overnight. Well it didn't really, so next time I won't do that. It wasn't a major problem I just had to get the kids to hold the items on for a bit before letting go. I think they did a great job overall.

This activity was SO FUN! I feel so silly for being afraid. The girls had a blast and we will make one every year from now on I'm certain. The kit made it really easy too. The pieces were precut, a base was included, all you have to do is add water to the icing mix and put it in the enclosed bag then assemble and decorate. Could. Not. Be. Easier.

Thanks MOM for *encouraging* me into a fun activity!

Friday, October 28, 2011

More fun work

Most of these activities were found on my quest for worksheets the other day. I put them all together this morning for some at home fun work. I did not get much sleep last night and am hoping to have an easy, relaxing day with the girls. I don't even have to cook dinner tonight as my Granny is dropping some off -- even dessert!

Pin Poking Pages
(a great activity to develop fine motor skills and concentration)
from Confessions of  a Homeschooler - letter of the week P
from abcteach

Fun with Power Magnets
(one to one correspondence and just plain fun)
I also printed one from COAH - same idea - different picture, and some of the other ones from 2 Teaching Mommies. So now they have a choice. These sheets can also be used with Do a Dot paints but somehow those always end up in a mess. I'm trying to avoid a mess today. We'll just have to see how that goes ;)

Pumpkin Pie Scented Play Dough
I made this a few days ago and let it rest overnight. It always seems better the next day. I used the play dough recipe from My Montessori Journey and scented it with Pumpkin Pie Spice. I like a lot of scent so I used about 2 tablespoons. I also added some colouring to make it more orange-y. The pumpkin pie spice adds colour too so it's came out as a pumpkin pie orange -- perfect.  We've already played with it yesterday and I am sure it will be revisited today.
Pumpkin Graphing Game
from 1+1+1=1
Amy is kind of obsessed with graphs.  I give her the one that goes up to 10 and Rose the one that goes up to 5. That usually works out evenly on time and they like to do it together and discuss their graphs and make predictions as they go. There are many styles of these available on the website and the dice are very easy to put together.

Monster Craft
I have a few of these left that I bought AGES ago from Oriental Trading. Years even. There are several monster styles packaged in kits. Everything is pre-cut and you just glue them to create a monster face. They always come out funny looking and everyone always enjoys this craft.

I also expect to have the kids ask to play with the Halloween Sensory bin again, so we'll enjoy plenty of sunshine today as well - as that is an outside activity, which will lead to more outside games I'm sure!

I've also already had one request to print more cutting strips from the other day since we used them all up. So I imagine there will be some more cutting and gluing today once I get that accomplished.


Frankenstein Toilet Paper Roll Craft

I stumbled across this fabulous blog over the weekend while on Pinterest. They had lots of fun Halloween crafts (and anytime crafts too!) These caught my eye and the girls and I made them on Monday.


They were very simple to make. Paint the toilet paper rolls and leave to dry.  Cut the hair, glue on the googly eyes and buttons, and draw on a mouth. I helped Heidi with hers and Amy and Rose did theirs by themselves. It was a bit messy during the painting but that was my first time painting with all three girls since having our new baby. I had waited until she was asleep to start - but that turned out to be a very a short nap. In any case, Heidi painted a lot more than just her toilet paper roll but it was all in fun - and it WAS washable paint ;)

Updated Oct 2012: There is a spider craft on there too - we made it also.